If the Actifile agent causes a Blue Screen (BSOD), our support team may ask for memory dump files to help investigate the issue. This article explains how to check your system settings and collect those files.
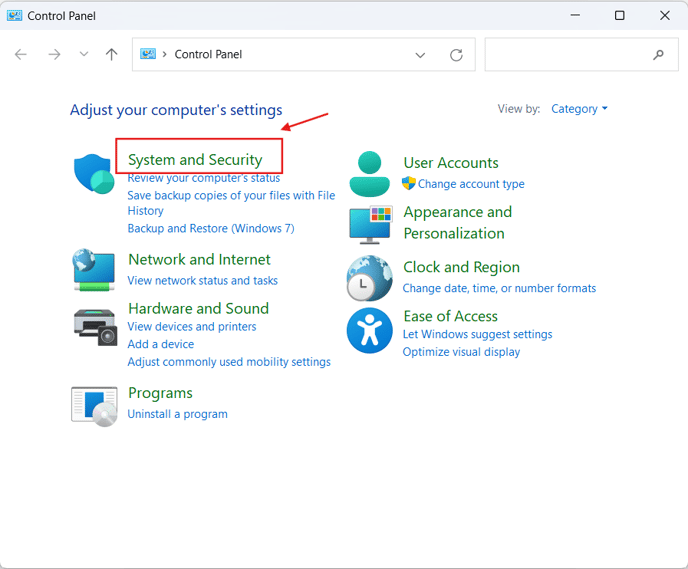
Step 1. Open the Start Menu, search for Control Panel, and open it. Go to System and Security.
Step 2. Click System.

Step 3. Select Advanced system settings.

Step 4. Under the Advanced tab, in the Startup and Recovery section, click Settings.

Step 5. In the Write debugging information dropdown, select Small memory dump (256 KB).

By default, minidumps are saved in C:\Windows\Minidump\.

Step 6. Click OK, then restart your computer.
Verify Minidump Settings in Registry Editor
Step 1. Press Win + R, type regedit, and press Enter.

Step 2. Navigate to: HKEY_LOCAL_MACHINE\SYSTEM\CurrentControlSet\Control\CrashControl
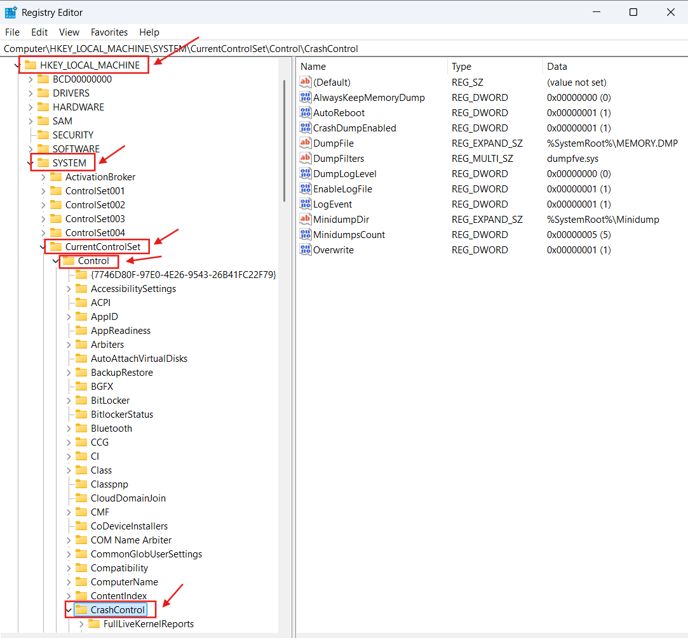
Step 3. Check that the following entries exist:
- CrashDumpEnabled =
1(for Small memory dump) - MiniDumpDir = the directory where minidumps are stored (default:
%SystemRoot%\Minidump)
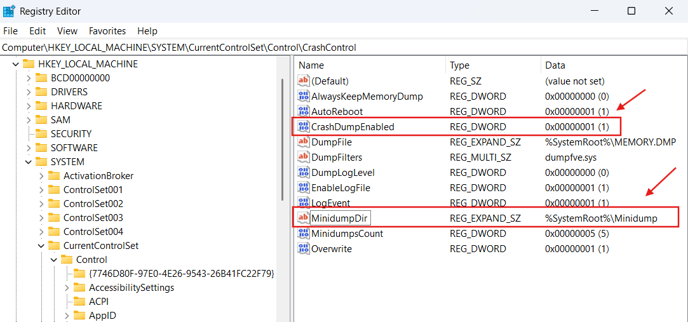
Step 4. If the values don’t match the expected ones, double-click the entry, type the correct value, and click OK. Then, restart your computer for the changes to take effect.

Find and Send the Dump Files
Step 1. Go to the folder: C:\Windows\Minidump\
Step 2. Look for .dmp files.

Step 3. Compress (ZIP) the file(s).
Step 4. Send them to Actifile Support as instructed.