Here, you'll learn how to create a custom classifier from scratch and how to update or delete an existing classifier.
Create a classifier
You can use an existing template to create a classifier or build one from scratch.
To create a classifier with a template, consult the template classifiers chapter for instructions.
To set up a classifier from scratch, follow these steps.
Step 1. Head to Deployment > Classifiers > Active Classifiers and click Add New.

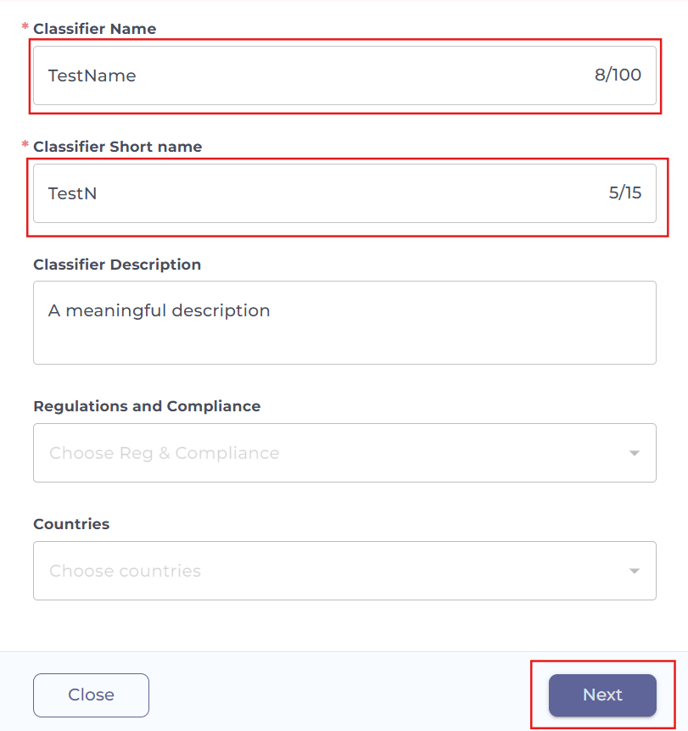
Step 2. Choose a name and a short name for your classifier. You can also add a description. Note that you won’t be able to choose regulations or countries unless you have administrator permissions.
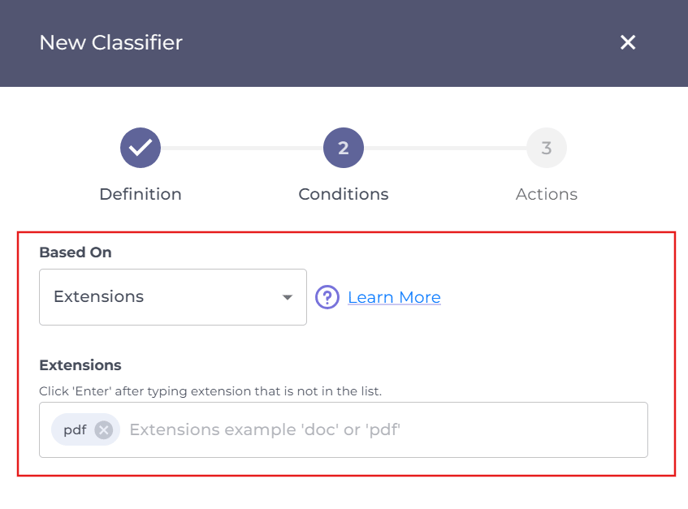
Step 3. Set the type of the classifier and conditions for the classification. To learn more about classifier types and configurations, head to this chapter.
The screenshot shows a classifier that will mark all files with the .pdf extension as sensitive.
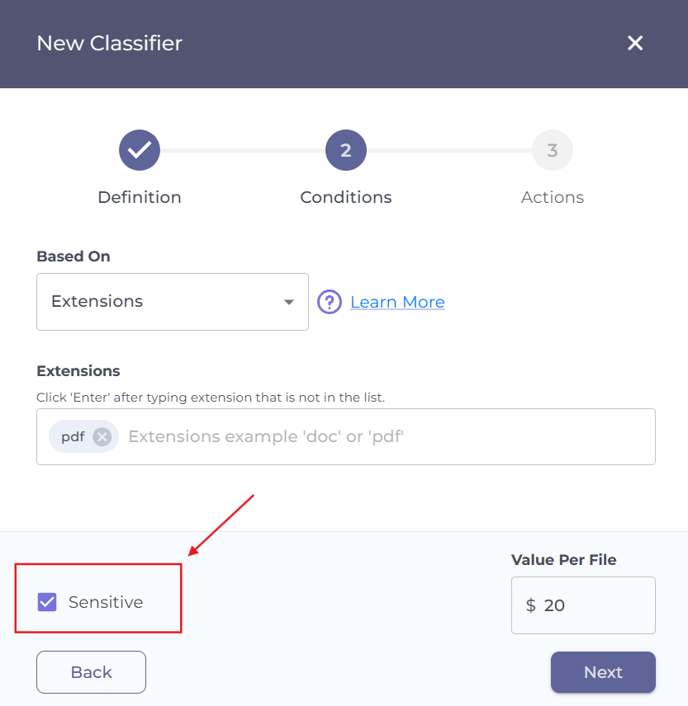
Step 4. If you want files meeting the defined criteria to be flagged as sensitive, check the corresponding box. If you want them to be classified as not sensitive, leave the box unchecked.
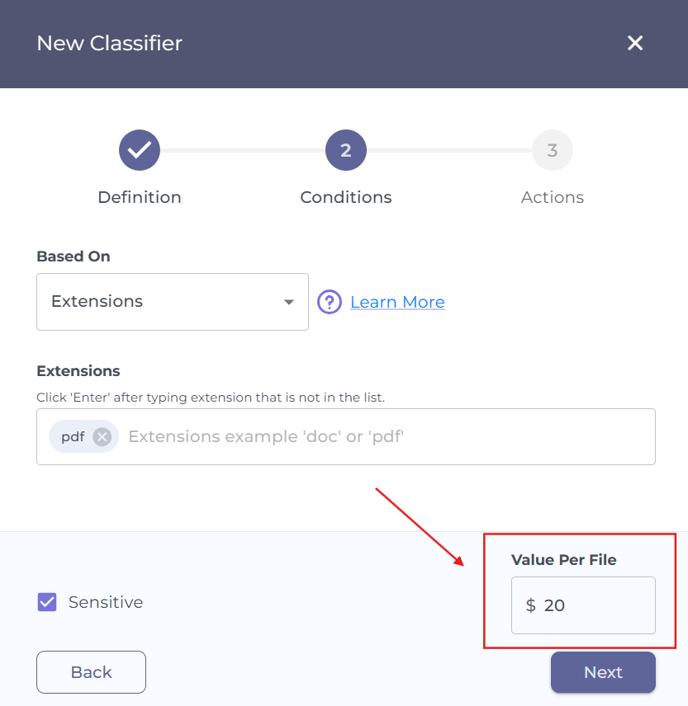
Step 5. Set the dollar value for every file flagged as sensitive based on this classifier.
For example, if the value per file is set to $20, and ten files are flagged, the total data risk will be $200 (10 files × $20).
Step 6. Click Next to proceed to the Actions screen, then click Create.
Note: You can’t configure data protection actions for a newly created classifier. Save the classifier first, then select its name from the list to update its settings.

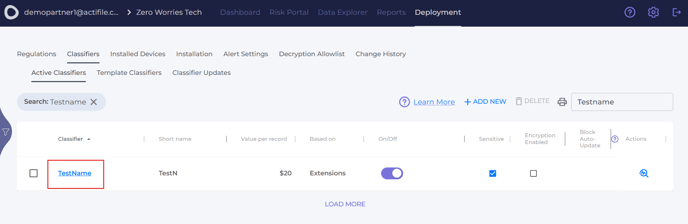
The new classifier will appear in the list under Active Classifiers.
Update a classifier
Follow these steps to update an existing classifier.
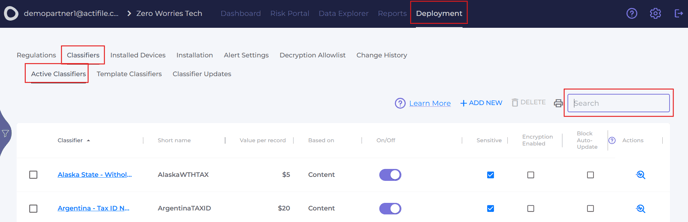
Step 1. Navigate to Deployment > Classifiers > Active Classifiers and find the classifier you want to edit. Use the search bar if needed.
Step 2. Some options can be configured directly from the table:
- On/Off column: Turn a classifier on or off.
- Sensitive column: Mark files that meet the classifier’s criteria as sensitive or not.
- Encryption & Delay column: Enable encryption and specify a delay (in days) before the data is encrypted.
- Block Auto-Update column: For Actifile pre-defined classifiers you’ve customized, check this option to prevent them from being updated when you apply changes in the Classifier Updates section. This ensures your customizations remain intact.

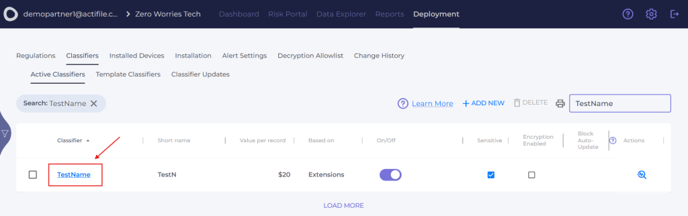
Step 3. To make further edits, click on the classifier’s name to open its settings.
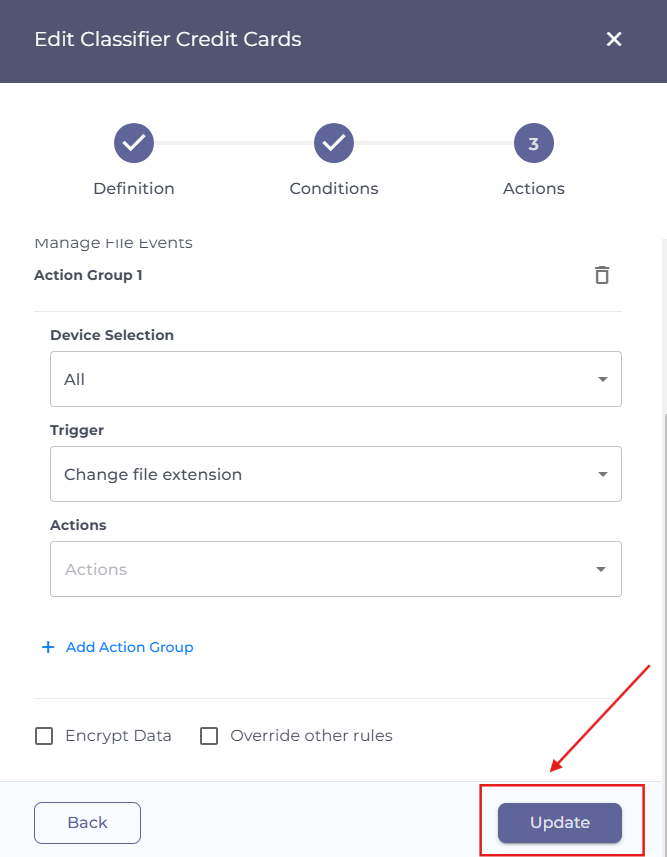
Step 4. Make the necessary changes and click Update. At this stage, you can also configure data protection actions, such as encryption or blocking specific file operations.
You have successfully modified the classifier.
Note: You can’t change the classifier type for an existing classifier. If you require a different classification basis, you will need to create a new classifier.
Delete a classifier
Follow these steps to delete a classifier.
Step 1. Navigate to Deployment > Classifiers > Active Classifiers and find the classifier you want to edit. Use the search bar if needed.

Step 2. Select the checkbox next to the classifier’s name. Click Delete, then Confirm.

Your classifier has been successfully deleted.